人生本是一个不断学习的过程,在这个过程中,图老师就是你们的好帮手,下面分享的citysceneflatten550x276CreateUnleashtheDarkPowerSurrealSceneinPhotoshop懂PS的网友们快点来了解吧!
【 tulaoshi.com - PhotoShop 】
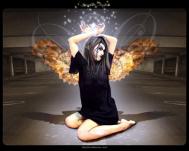
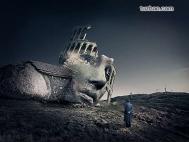
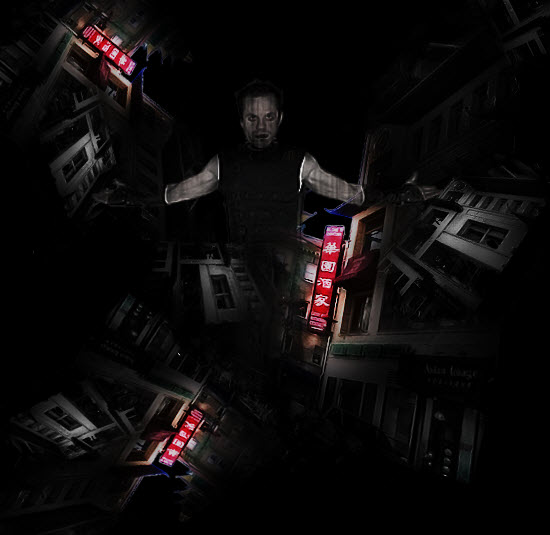
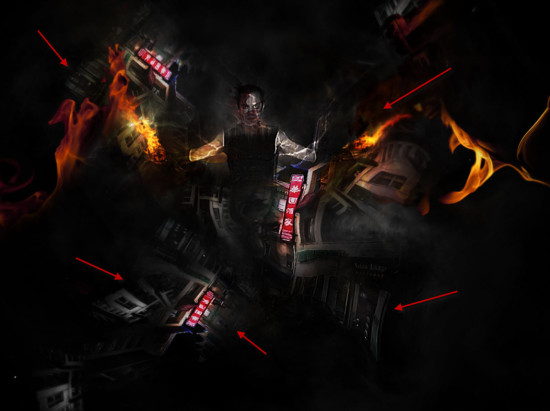
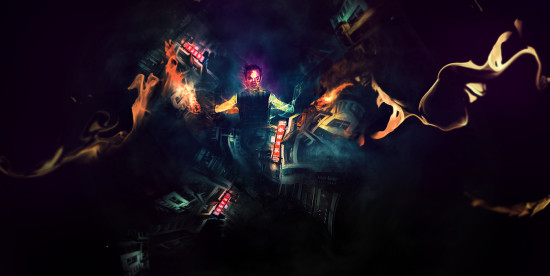
PS怎么制作黑暗力量中的超现实场景

素材:
Model by Falln-Stock
City stock image
Flame
Crack brush
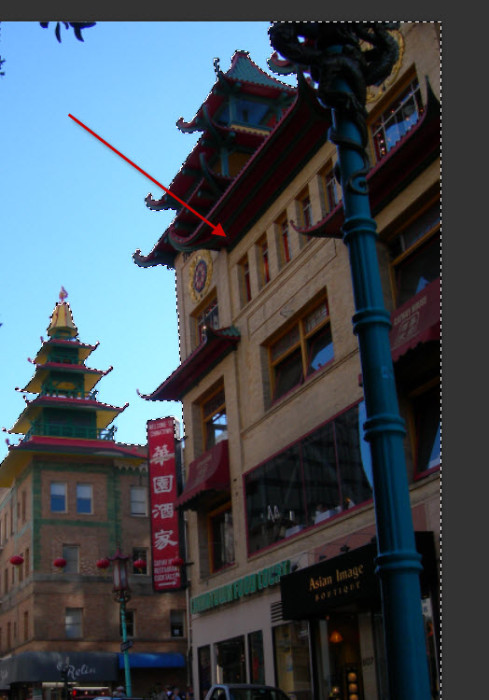
Step 1
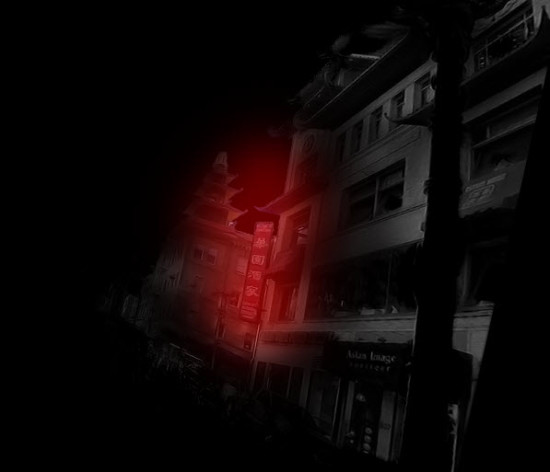
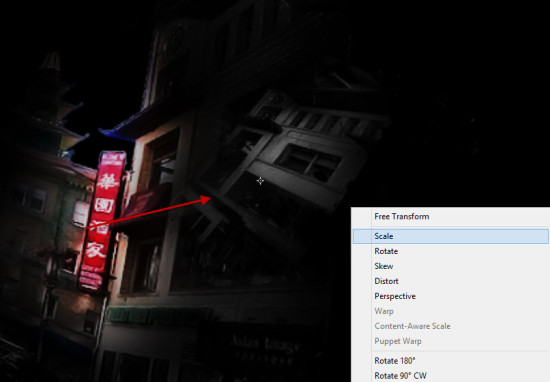
创建一个新文件,大小为1400*704px,背景为黑色。打开city image(素材中的第二张),选择部分建筑,如下:
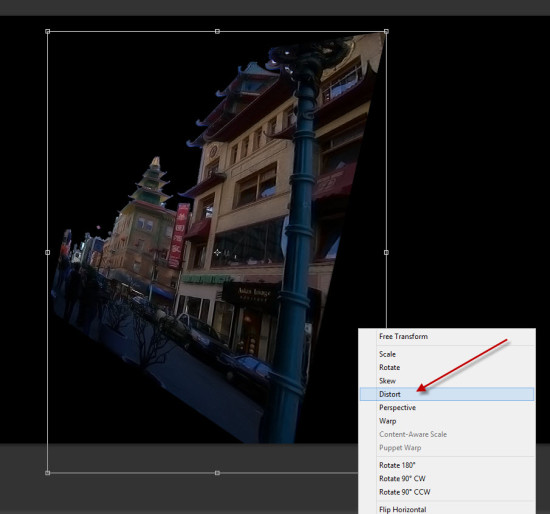
将这部分复制粘贴到主文件,使用自由变换工具将它变歪,如下。
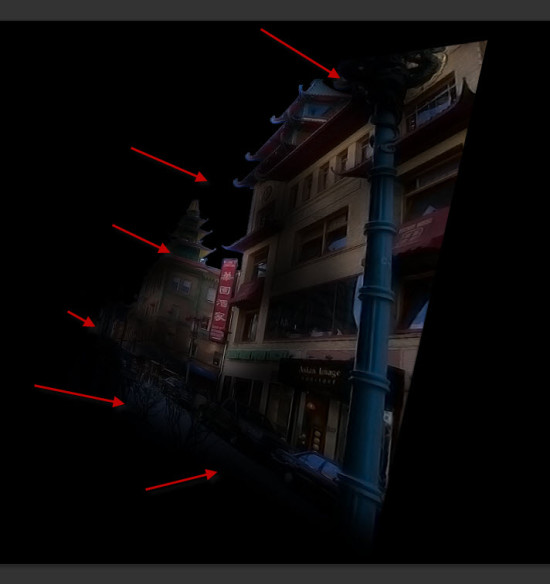
用一个比较柔和的橡皮擦擦去楼房的某些部分:
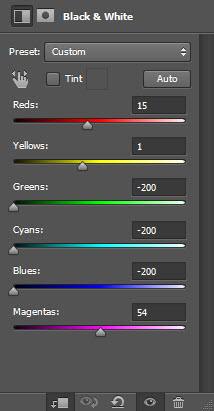
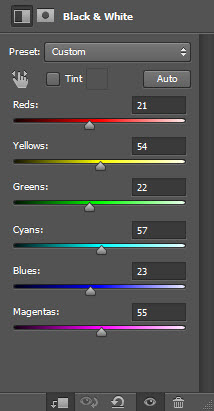
添加剪切蒙板,然后按如下设置调整图层:
黑&白
在黑白调整图层中的图层蒙版
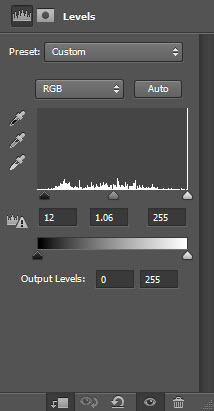
色阶
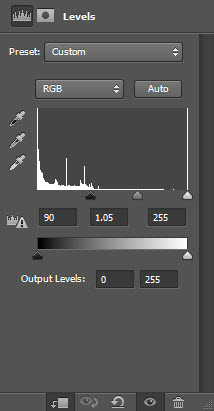
色阶调整图层的蒙版:
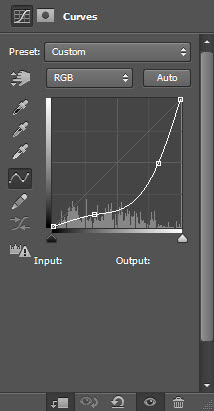
曲线:

曲线调整图层的蒙版:
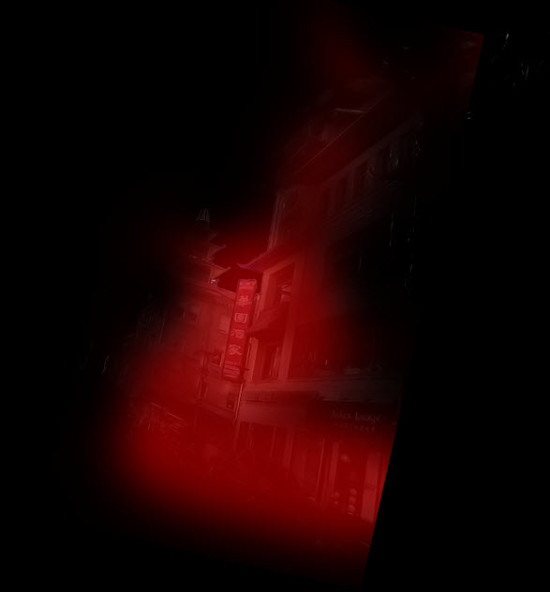
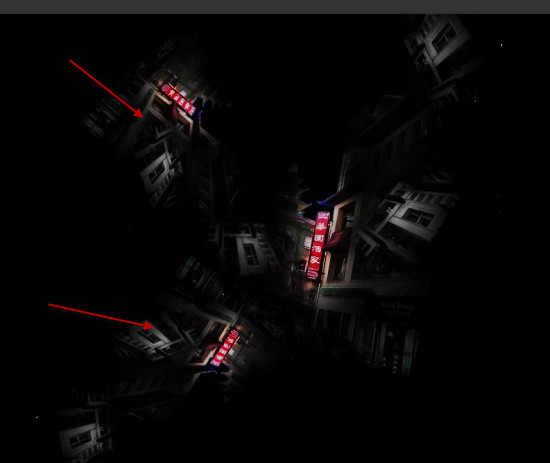
将这三个调整图层合并,复制粘贴合并图层,并将其放在合并图层下方,然后用自由变换工具调整其大小和方向:
重复上述步骤,多做几个鬼屋,放置位置如下:
(本文来源于图老师网站,更多请访问https://www.tulaoshi.com/photoshop/)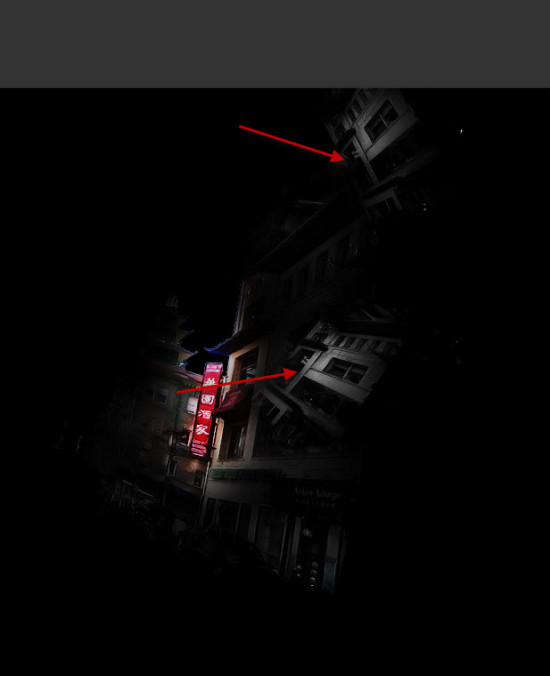
Step 2
在这个步骤中,我们将加入男猪脚!这位演技可睥睨汤姆克鲁斯的兄弟,你准备好了吗?首先置入男猪脚(素材中的第一张),放置位置如下:
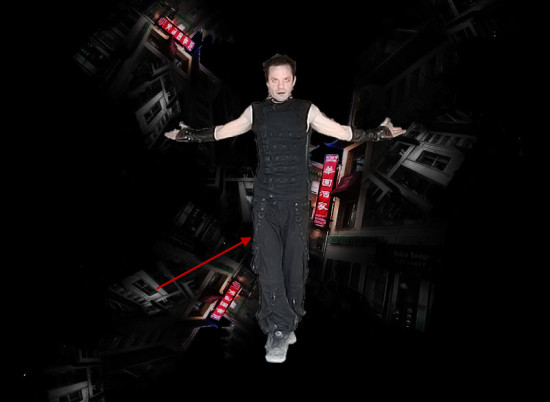
使用橡皮擦工具给帅哥擦擦脸、身子什么的:

添加剪切蒙版,调整图层设置如下:
黑&白
色阶
曲线
效果:
Step 3
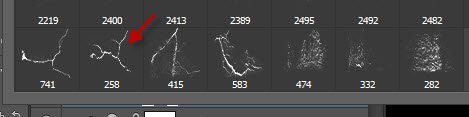
在这一步,我们将添加一些其他的效果。首先新建一个图层,这个图层要在所有图层的上面,将其图层模式设置为叠加。然后置入crack笔刷(素材中的最后一个),选择下面这个:
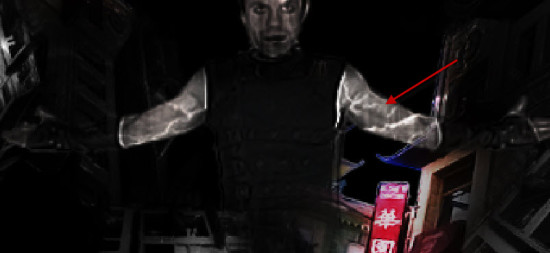
将笔刷的颜色设置为白色,在帅哥身上画几笔,如下:

继续画,可以换种画笔:
打开火焰这张图(素材中的第三张),用快速选择工具选出主体部分:
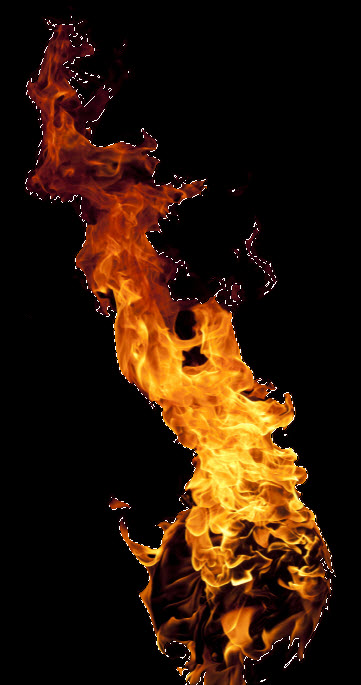
复制火焰然后粘贴到主文件,用自由变换工具将其缩小,然后左右两边各放一个,位置如下:

Step 4
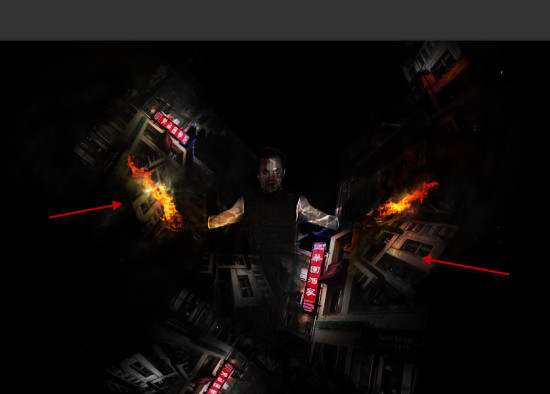
这一步中我们将添加一些额外的火焰效果。复制上一步中的火焰,放到主文件,这一次不用缩小,用橡皮擦去掉遮挡帅哥的那部分:
(本文来源于图老师网站,更多请访问https://www.tulaoshi.com/photoshop/)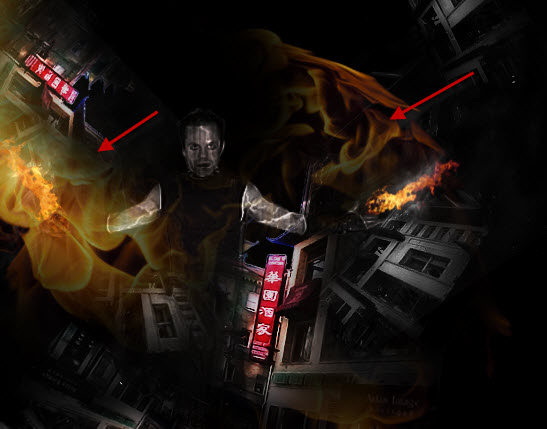
将图层模式设置为叠加,效果如下:
添加滤镜中的云/烟效果:
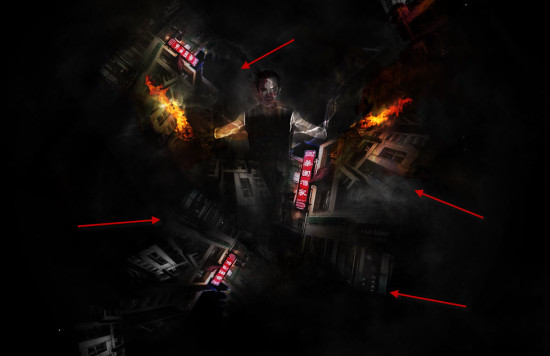
Step 5
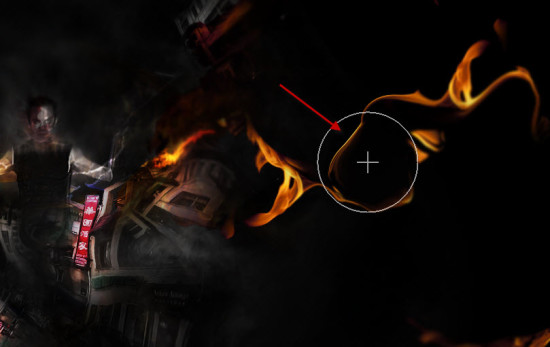
继续添加火焰,充满整个图像。

你可以使用液化滤镜对火焰进行调整:
Step 6
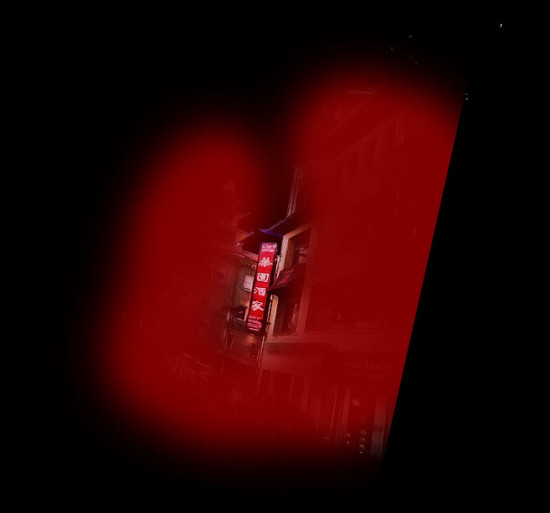
最后一步咯~复制背景图层,使用液化滤镜拉扯图片的边缘,如下:
在可选颜色调整面板中为图片添加一些颜色:
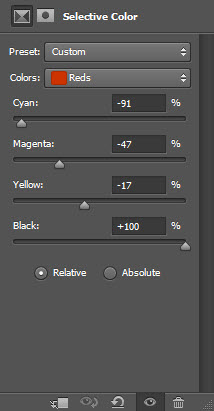
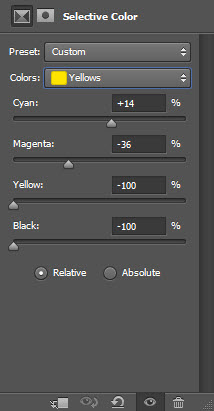
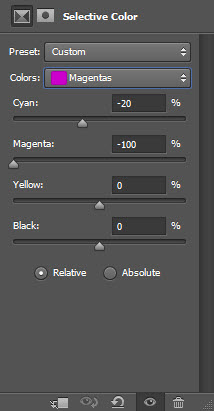
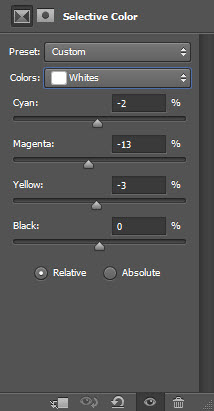
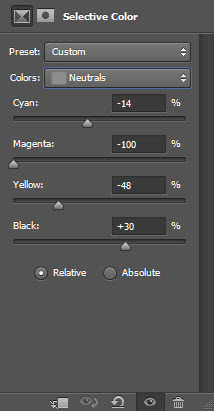
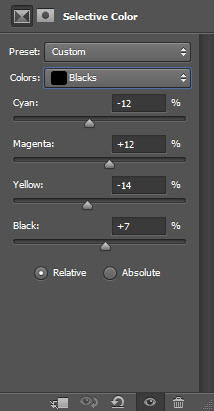
颜色调整图层的蒙版:

效果:
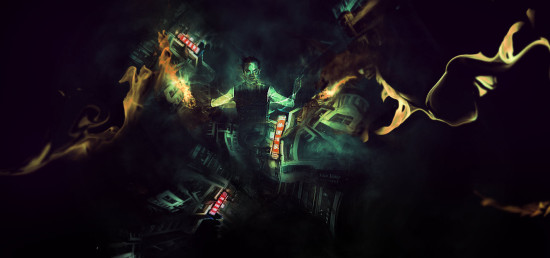
最后我调整了一下颜色,效果如下:
来源:https://www.tulaoshi.com/n/20170325/2627855.html
看过《PS怎么制作黑暗力量中的超现实场景》的人还看了以下文章 更多>>